Week 11 and beyond - The progression to the Final Product
- Jan 8, 2016
- 4 min read
Bare with me here because this post is going to be very long. The content of this post will include that of my progression on week 11 as well as work I have done over the holidays. The final submission will be organised in another post
So here we are the sentry project is finally over and quite frankly during the later stages of the project I really started to enjoy see it come together.
Looking back week 11 was a big push for me as I was working more with texturing and other 2D areas, which I am more comfortable with. In that week I remember finishing my textures and fixing errors on the faces on some of the textures by collapsing the model in max. I got my model moving and playing music by Monday and started to work on the concept promotional imagery by the end of the week.

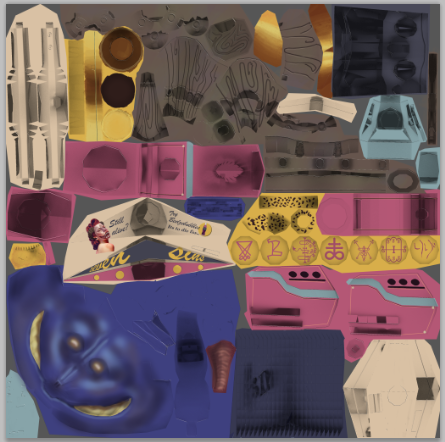

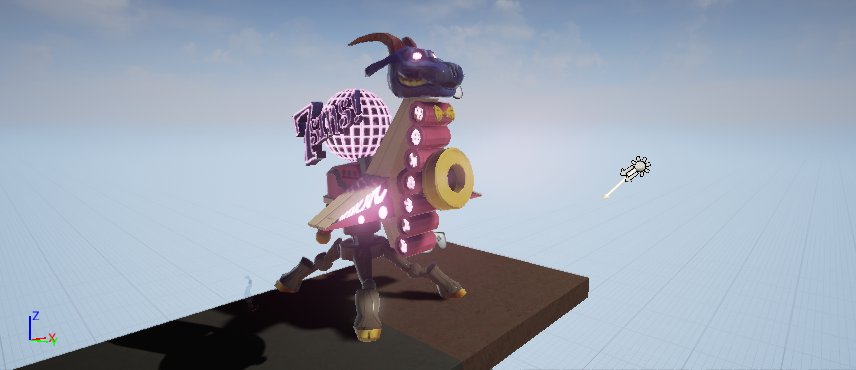

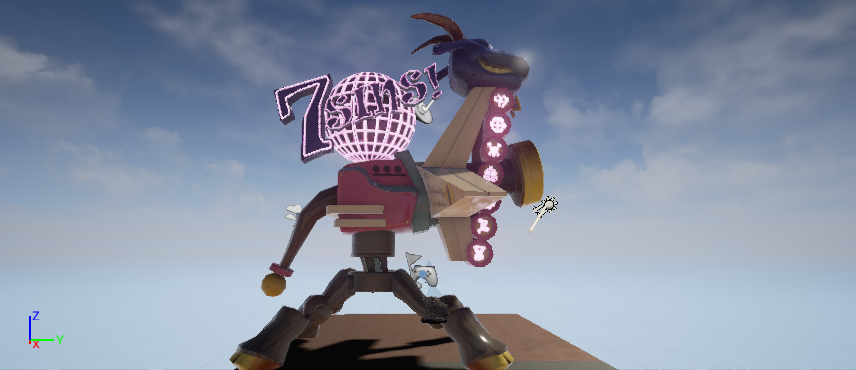

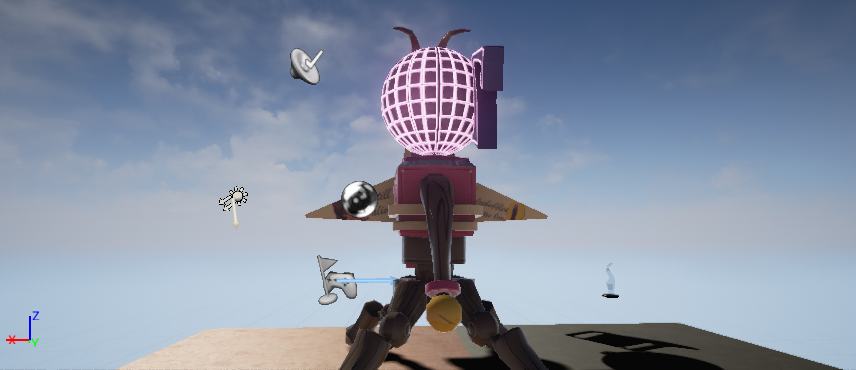

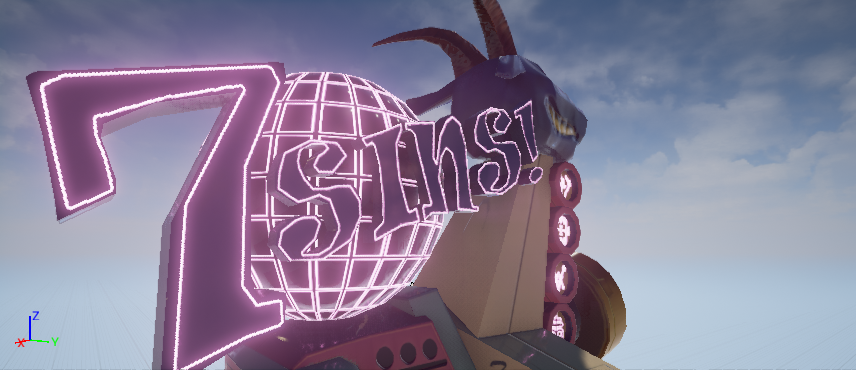

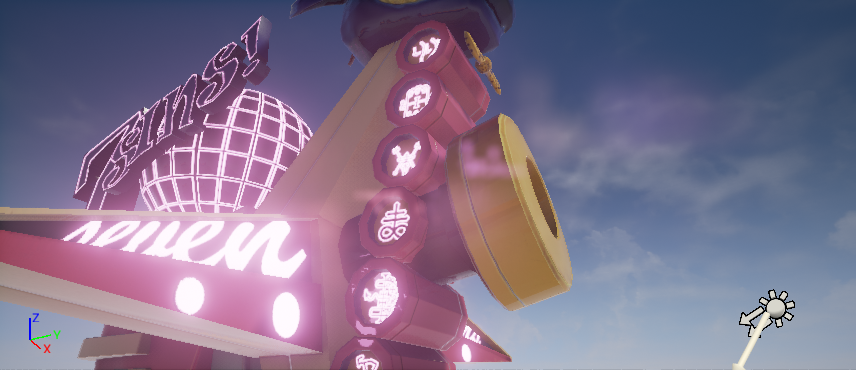

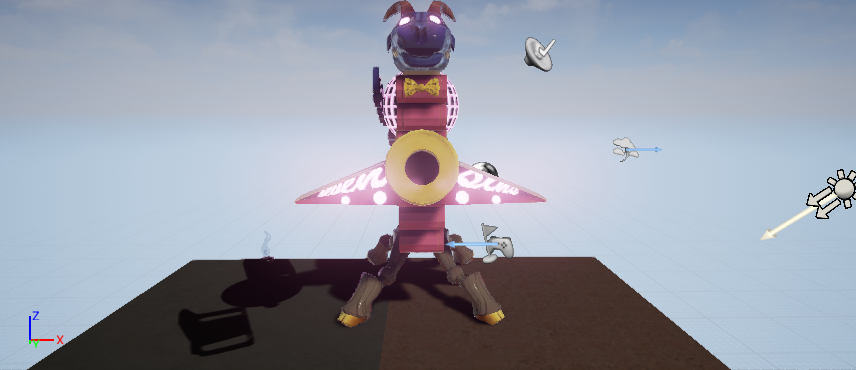

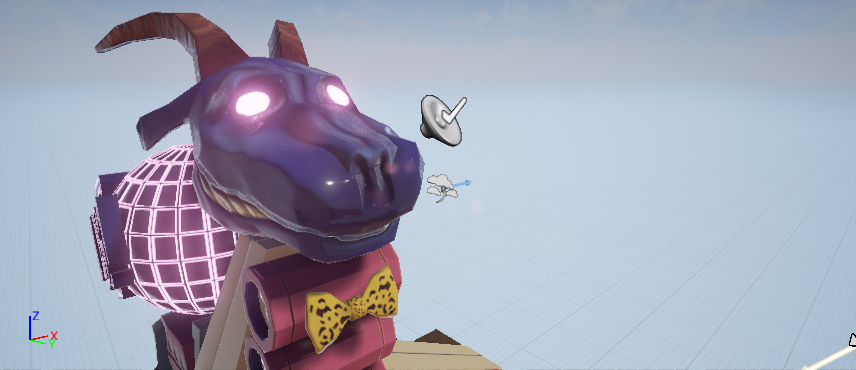

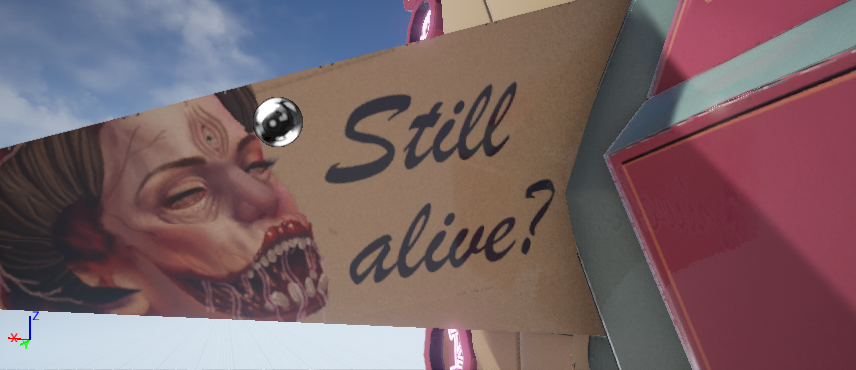


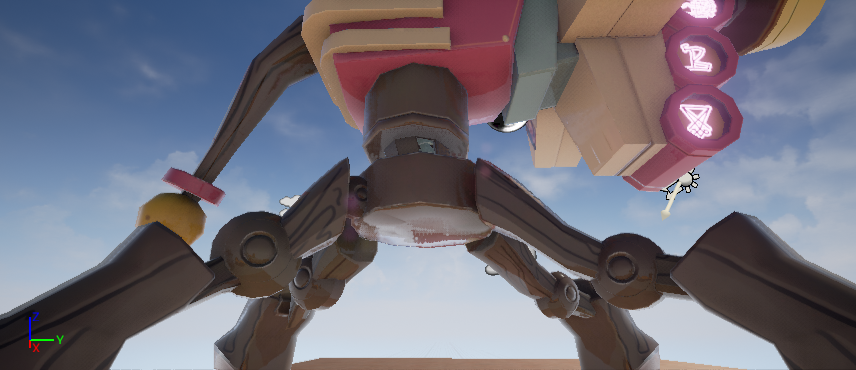


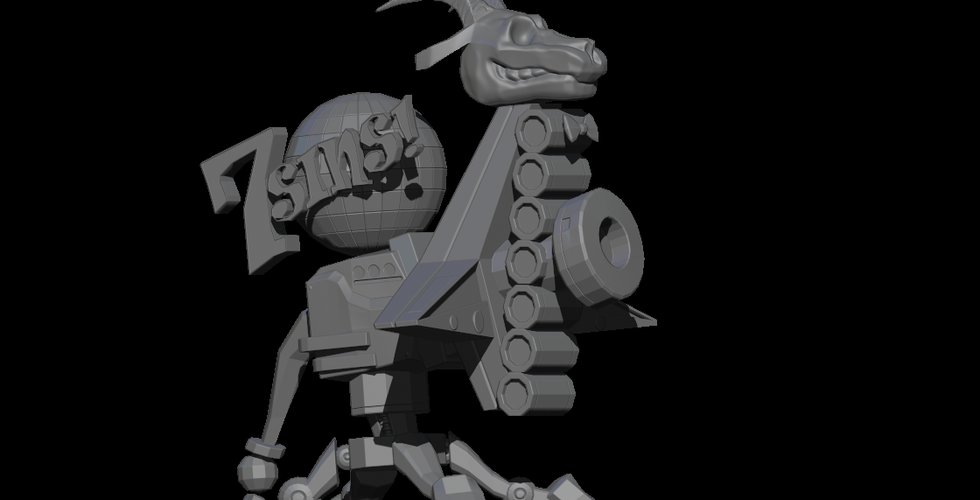
The Slide show above contains the week 11 build of the turret as well as a pin up I painted/photobashed for the turrets texture.
Engine Build w/t sound
Engine Build w/t sound, new textures and animation
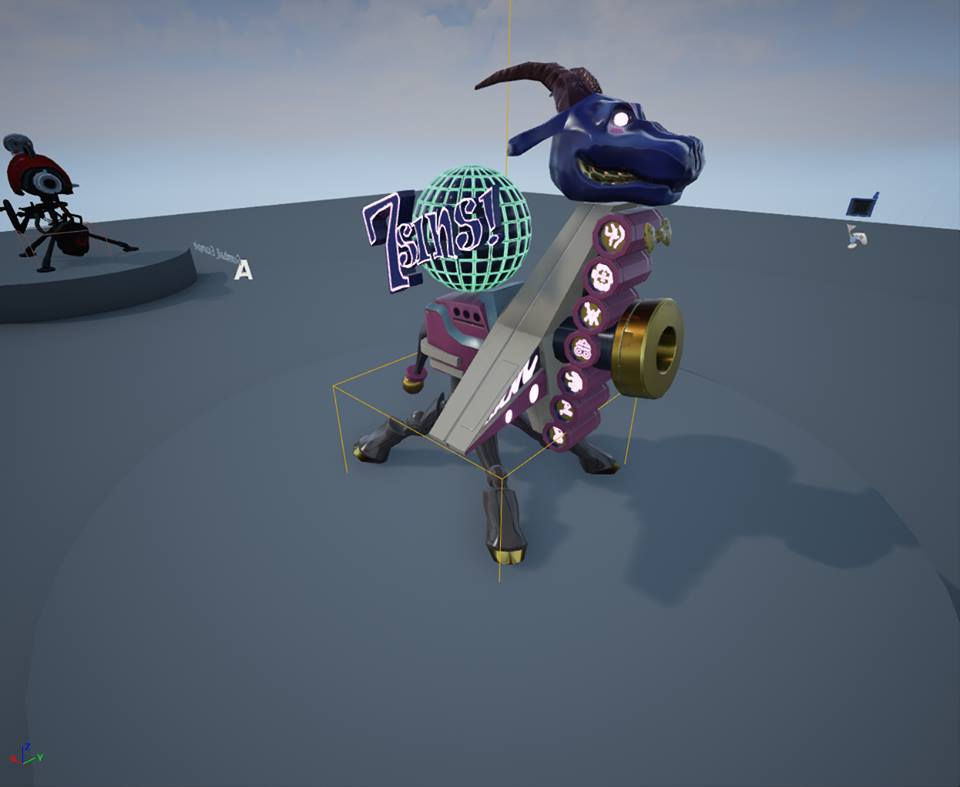
New Textures
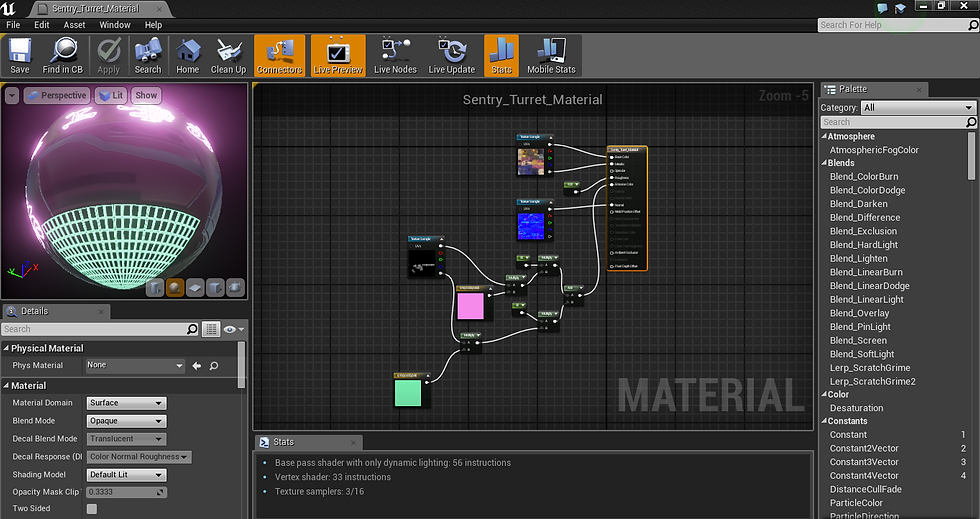
That week in particular allowed me to refine and push my technical art skills working with PBR and engine tools using what I had learnt from a previous lesson concerning the development of making a jump pad tool and producing a way for my turret to play music within the unreal scene.
As the week progressed I started to render out my high poly via z brush for the paint over which became part of my promotional images as seen below.


Concerning one of the images above whilst looking at my board of concept art inspiration, I attempted to study from one of the images particularly how said artist creates form with a minimum amount of brush strokes to convey a clean hard edged look. I remember learning from said study the importance of masks in Photoshop as well as using large bush strokes to cut away to create hard surface forms and the importance of a blended out stoke to convey a smoother surface.
Beyond week 11
After week 11 it was time to tackle the projectile of the model itself as well as particle effects. This I remember was a nightmare of a challenge. Firstly, I'm not the most technical thinker when it comes to how certain things function therefore I spent sometime researching how Guns actually work.
One could argue that it was unwise of me to use a video on how a handgun works instead of how a sentry gun works, however the videos simplicity allowed me to gain a basic foundational understanding on how a projectile and bullet casing work which gave me the space to think more about concepting rather than being bogged down with technical details.
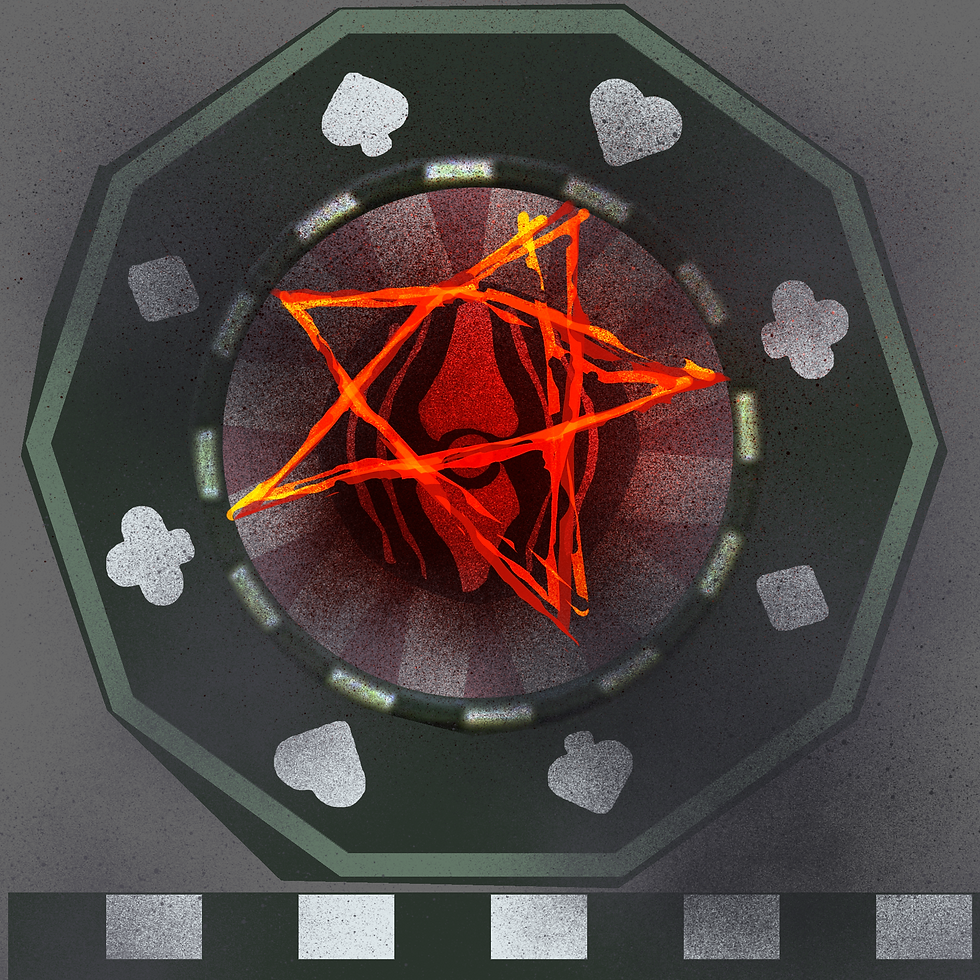
From this research I started to refine the initial idea I had for how my turret attack the player which at the time was based around firing demonic poker chips to keep with the consistent Vegas theme.
I started looking into other particle effects from other video games I thought would be quite fitting for my turret as well as seeking help from more experienced students online as to how I would attain this look.


This directed me towards the Ue4 tutorial on particle effect and experimenting with cascade, which I believe, is the particle system editor. Working with the program for the first time was like using a spaceship with no formal training or insight, which caused me great frustration.

Particle Effect Notes
Moreover after learning that cascade works similar to Photoshop by layering different materials onto each other to create the desired effect it started to become abundantly clear that the desired effect which I had already started to concept would not work based on the idea that my given budget would not allow this dark smoky look I had wanted. Hence, I decided to settle on a firework like look to retain the glitzy Vegas theme I have been working with throughout the project.

First attempt at creating sparks within Cascade

Particle Flipbook - Concepted and used in particle effect

Final Particle Effect

Projecticle - The Turret fires out a clump of poker chips which are loading in via its ammo box located in the front. It is then charged up through demonic energies and fired out the cannon. Some of the chips scatter out the ejector. The ones which do are stamped with a flaming pentagram (See my technical/practical thinking skills are very much to be desired)
Ejector chip
Anyway this was week 11 and beyond in terms of the sentry gun it was a fun and very rewarding project pushing my skills in very technical areas of art now onwards toward the character project. While on the subject of the character project this holiday break I have also spent time studying Z brush more in depth as as well as starting to make a habit of more studies and thumbnails which will hopefully aid my work in the upcoming project. Below you will find my z brush work over the holidays as well as general work undertaken to push my skills.


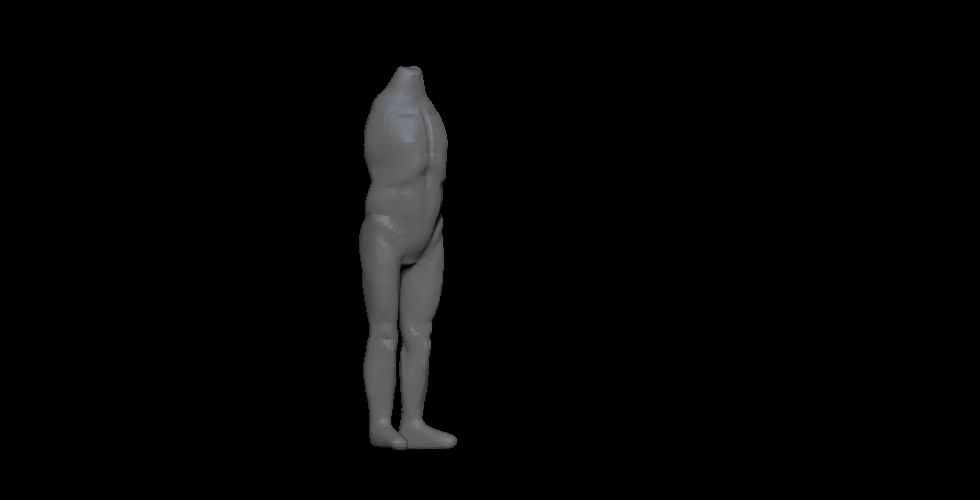


On reflection of these holidays working with Z brush I have found that the learning curve is very very large and if this is the quality of sculpts I am producing then I need to really consider working at least with max just to have a strong base sculpt to work from. I really enjoy using the software but I have a lot to learn if I want to use it successfully within the course and so much to learrn and experience if I want to use for future prospects.


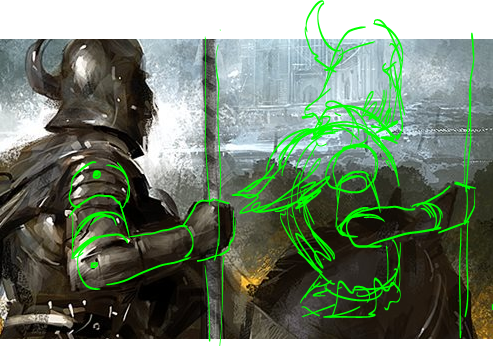


Slideshow of work undertaken over the holidays- Mainly studies and doodles
Learnt a lot from these most interestingly enough I learnt the reason why I'm not to confident with developing poses from imagination is a result from a lack of understanding on how the joints in the human body work - Guess that's my new years resolution.


Comments